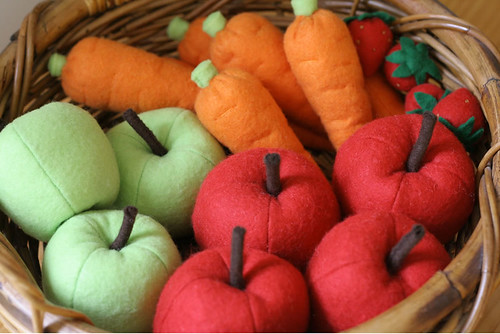
After several many requests from Hannah, I've begun exploring the world of felt food. First attempts were with some much appreciated guidance: a strawberry from
here, a doughnut from
here. Then I got really adventurous and made up my own carrot pattern! Here's a tutorial for anyone else who has hungry bunnies or kids:
Materials: orange felt, green felt, stuffing, orange thread, green thread
Pattern: carrot pattern PDF
Instructions:- Cut out one of each pattern piece from felt.
- Fold carrot piece along fold line and stitch sides together to form a cone. Trim away seam allowance close to stitching at both ends of the seam.
- Turn right side out. Stuff firmly.
- Using orange thread perform a long running stitch around top of carrot.
- With green felt, fold one of the short ends over about 2mm and then keep rolling up felt to form a short carrot stalk. Using green thread stitch free end of green felt strip to the layers of felt underneath. Tie off green thread.
- Pull on orange gathering thread to close up top of carrot. Before completely closed, push stalk into the opening until only about 1cm of stalk remains visible. Close up carrot around stalk.
- Insert needle through stalk to opposite side. Take needle through a fold of orange felt close to the raw edge. Insert needle back through stalk to opposite side near another raised fold. Continue taking the needle through the stalk and carrot top until all of the folds of orange felt have been sewn to the stalk, and the stalk is secured in place.
- Using orange thread, make long decorative stitches around the carrot from top to bottom. Tie off thread. Done!

Please bear in mind that this is the first time I've put together a tutorial. Hopefully it's understandable. I'm happy to answer any questions or hear any constructive criticism you may have. (Oh, and if you notice that a couple of the pics have extra seams please just ignore them. They were from an earlier more complex version.)